

Quality is the key to a company’s success, and the machining industry attaches great importance to product quality. Therefore, product-specific inspection tools are particularly important, so today we will introduce you to the microscope, which is the inspection tool in the machining industry, and mainly introduce the operation method and maintenance of the microscope.
What is the microscope?
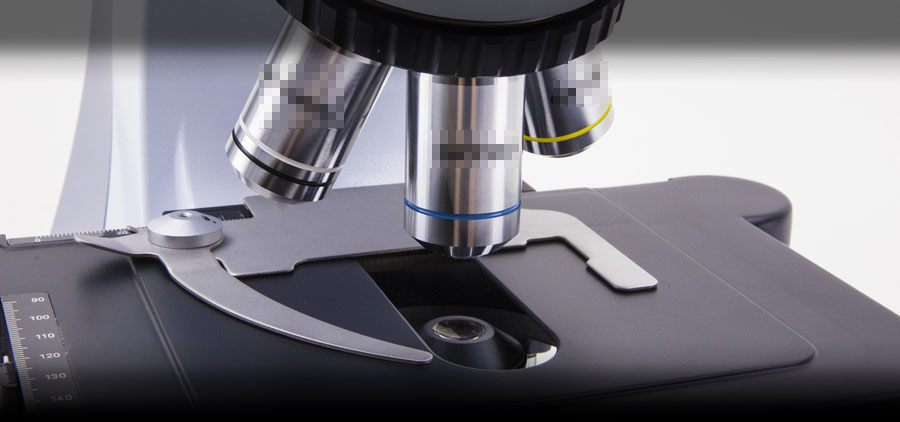
The microscope design is compact, small in size, and light in weight. It is a small instrument and equipment. It is composed of two parts, one is an observation microscope, and the other is a precision movable cross table, which can easily read the indications. It can be used in places where the processing occasions are limited.
Microscopes are widely used in the precision parts manufacturing industry. Mainly two-dimensional measurement, but also three-dimensional auxiliary measurement. The standard eyepiece lens can also be used for comparative measurement. Measure the size of the workpiece such as thread pitch, outer diameter, tooth angle, ruler shape and cutting tool, or perform microscopic magnification measurement on the contour, and inspect the surface condition of the workpiece. Measure angle, length, etc. In addition, it can also be used as an observation microscope for various precision processing industries for the purpose of non-contact measurement such as the relative measurement method to check the surface roughness of the workpiece.
How To Use?
1. Diaphragm adjustment of the microscope eyepiece
To adjust the eyepiece diopter of the microscope, firstly adjust the clear scribed image in the eyepiece field of view. If the measurer cannot get a clear scribed image in the eyepiece field of view, the eyepiece diopter circle should be adjusted. The diopter is adapted to the visual acuity of the examiner, so that a clear meter line can be obtained.
Move the central microscope through the focusing hand wheel to obtain a clear image of the contour of the object in the eyepiece field of view, and then move the vertical and horizontal worktable for alignment. If the measurer’s eyes are moving up and down and left and right in the eyepiece and there is no relative movement of the object image and the m-line in the field of view, it means that the measured part is correctly imaged on the m-line reticle, and then the measurement can be carried out. If there is a relative movement between the image of the object and the reticle, it means that the microscope has not been well-focused. Further focus needs to be adjusted so that the image of the object and the reticle of the reticle are on the same plane.
2. Alignment (crimping) method
To line (press line) is to use the m-shaped line and the edge of the image contour of the measured part to overlap each other, which is called aiming. For a specific microscope, the accuracy of the microscope is certain, and the measurement accuracy must be ensured. Relatively high and reliable, largely depends on the correct alignment method. There are two alignment methods: one is the gap alignment method, and the other is the overlap alignment method.
① Gap alignment method
The gap-to-line method is suitable for angle measurement. When measuring the angle with the microscope, when any dotted line of the meter line is close to the side of the measured angle in the field of view, keep a narrow gap between the dotted line of meter line and the edge of the measured angle. The uniformity of the gap size is used to judge the accuracy of the alignment between the dotted line of the m-shaped line and the edge of the image of the DUT.
If the above alignment method is not used, and the method of overlapping with the edge of the image is directly used, not only will the measurer find it difficult to align, but also the measurement error will be increased. At this time, the image of the profile of the tested part in the field of view is not a thin line, but a bright and dark profile, and the engraved line of the meter line has a certain width. If they are overlapped and measured, it will inevitably produce a larger alignment error, especially when the side of the measured angle is relatively short, this situation is more serious. Therefore, the microscope should adopt the gap alignment method when measuring the angle.
② Overlapping alignment method
If the microscope still uses the above gap alignment method when measuring the length, it will increase the length measurement error. The reason is that the gap cannot be measured and is included in the measured length value. Therefore, the overlapping alignment method is used in length measurement. That is, the dotted line of the Mi-shaped line exactly overlaps the edge of the contour image, so that half of the dotted line is inside the contour image, and the other half is outside the image. When aligning the line, the center of the dotted line of the meter line should be taken as the standard, and the extended part of it as a reference, the microscope can obtain accurate measurement results.
How to maintain?
Tool microscope is a very precise measuring instrument. If it is not well maintained, its service life and accuracy will be greatly reduced. The following are the maintenance and maintenance suggestions provided:
1. Environment:
It is best to place the tool microscope in a clean place, but there are many opportunities to use it in machinery factories, so the following points should be paid attention to:
(1) General lighting should not exceed the necessary brightness.
(2) Locations that will not be stained with oil.
(3) Locations with little dust.
(4) Places with little vibration.
(5) A place where there is no sudden temperature change.
2. Glass components:
The glass parts should be kept clean at all times and not stained with dirt, otherwise the image will be unclear and the measurement accuracy will be reduced.
(1) Lens: Usually, you should be careful not to touch the lens with your hands. If the surface of the lens is stained with hand prints or oil, you can use lens cleaner or gauze soaked in alcohol to wipe gently. If you don’t understand the lens, please don’t disassemble it at will. The dust will not affect the measurement results.
(2) Measuring pedestal glass: The glass surface of this part is most likely to be damaged when the measuring object is placed, so special attention should be paid to it. If it is stained with grease or dust, wipe it with a soft cloth. Also, pay great attention to the use of the objective lens and observation lens. When removing the observation lens from the microscope, it is easy to get dust on the active focal length of the microscope, so even if it is not in use, install the observation lens on the microscope.
3. Electrical parts:
The tool microscope must use a higher voltage current. If the contact is not good, it is easy to generate heat and danger, so it must be checked at any time. In principle, the host must be grounded.
4. Consumables and accessories:
Light bulbs and power fuses are consumables, so spare parts should be prepared for replacement. For accessories, the measuring table glass is the most important, and spare parts must also be prepared.
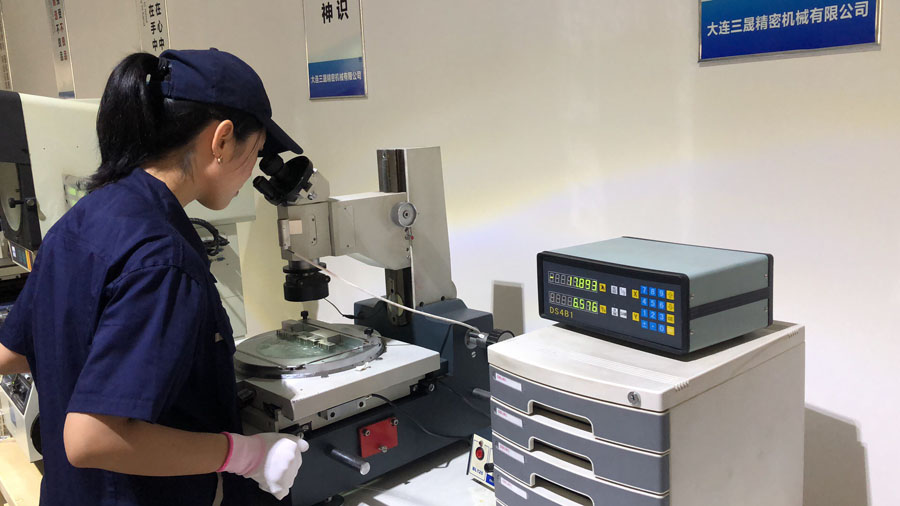
SANS Machining has more than 10 years experience in the machining industry, we know the quality is very important, so we have independent inspection department, that can perform consistent inspections on each part to ensure the products are all high quality and high precision.