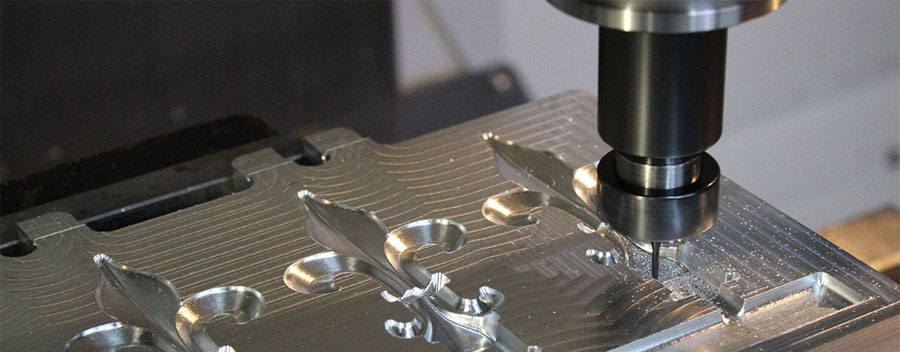
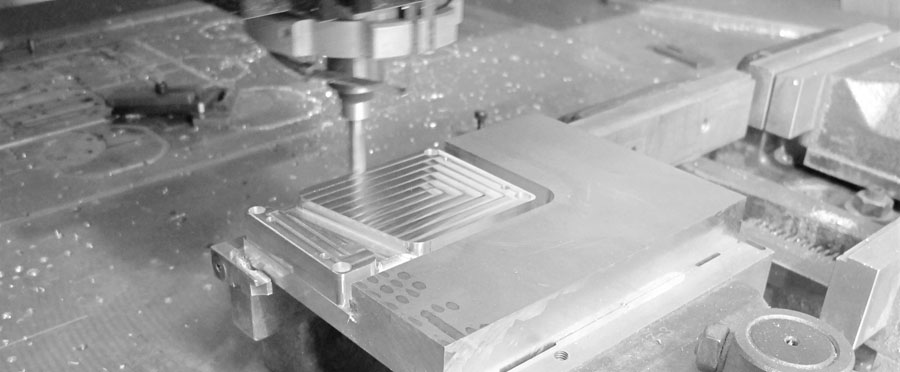
Machining accuracy refers to the degree of conformity between the actual geometric parameters (size, shape and position) of the parts after machining and the ideal geometric parameters. In machining, the error is inevitable, but the error must be within the allowable range. Through error analysis, master the basic law of its changes, so as to take corresponding measures to reduce processing errors and improve processing accuracy. ( Common Methods For Obtaining Parts Accuracy In Machining )
Then there will be errors and there will be reasons, roughly as follows:
1. Spindle Rotation Error.
The spindle rotation error refers to the variation of the actual rotation axis of the spindle relative to its average rotation axis at each instant. The main reasons for the radial rotation error of the main shaft are: the coaxiality error of several sections of the main shaft journal, various errors of the bearing itself, the coaxiality error between the bearings, and the deflection of the main shaft.

2. Guide Rail Error.
The guide rail is the benchmark for determining the relative positional relationship of various machine tool components on the machine tool, and also the benchmark for machine tool movement. The uneven wear of the guide rail and the installation quality are also important factors that cause the guide rail error.
3. Transmission Chain Error.
The transmission error of the transmission chain refers to the error of the relative movement between the transmission elements at the first and the end of the transmission chain. The transmission error is caused by the manufacturing and assembly errors of each component of the transmission chain and the wear during use.
4. The Geometric Error Of The Tool.
In the cutting process of any tool, it is inevitable to produce wear and tear, which will cause the size and shape of the workpiece to change.
5. Positioning Error.
One is the error of benchmark non-coincidence. The datum used to determine the size and position of a certain surface on the part drawing is called the design datum. The reference used to determine the size and position of the processed surface of this process on the process drawing is called process reference. When processing the workpiece on the machine tool, you need to select several geometric elements on the workpiece as the positioning datum during processing. If the selected positioning datum does not coincide with the design datum, a datum misalignment error will occur.
The second is the inaccurate error of the positioning pair manufacturing.
6. The Error Caused By The Force And Deformation Of The Process System.
One is the rigidity of the workpiece. In the process system, if the rigidity of the workpiece is relatively low compared to the machine tool, tool, and fixture, the deformation of the workpiece due to insufficient rigidity will have a greater impact on the machining accuracy under the action of the cutting force.
The second is the stiffness of the tool. The rigidity of the external turning tool in the normal direction of the machined surface is very large, and its deformation can be ignored. Boring an inner hole with a small diameter, the rigidity of the tool bar is very poor, and the force and deformation of the tool bar have a great influence on the machining accuracy of the hole.
The third is the rigidity of machine tool components. Machine tool components are composed of many parts. So far, there is no suitable simple calculation method for the stiffness of machine tool components. At present, experimental methods are mainly used to determine the stiffness of machine tool components.

7. Errors Caused By Thermal Deformation Of The Process System.
The thermal deformation of the process system has a relatively large impact on the machining accuracy, especially in the precision machining and large-scale processing, the machining error caused by the thermal deformation can sometimes account for 50% of the total error of the workpiece.
8. Adjust Error
In each process of machining, the process system must be adjusted in one way or another. Since the adjustment cannot be absolutely accurate, an adjustment error occurs. In the process system, the mutual position accuracy of the workpiece and the tool on the machine tool is ensured by adjusting the machine tool, tool, fixture or workpiece. When the original accuracy of machine tools, tools, fixtures and workpiece blanks all meet the process requirements without considering dynamic factors, the influence of adjustment errors will play a decisive role in processing accuracy.
9. Measurement Error.
When measuring parts during processing or after processing, the measurement accuracy is directly affected by the measurement method, the accuracy of the measuring tool, the workpiece, and the subjective and objective factors.


