Machining accuracy is mainly used to characterize the fineness of products, and it is a term to evaluate the geometric parameters of machined surface. Machining accuracy is measured by tolerance grade. The smaller the grade value is, the higher the accuracy is.
There are 20 tolerance grades from IT01, IT0, IT 1, IT 2, IT 3 to IT18. Among them, IT01 represents the highest machining accuracy of the part, and it18 represents the lowest machining accuracy of the part. The general industrial and mining machinery belongs to it7, and the general agricultural machinery belongs to it8. According to the different functions of product parts, the processing precision required is different, and the processing form and processing technology are also different. This paper introduces the machining accuracy that can be achieved by turning, milling, planing, grinding, drilling and boring.

1. Turning
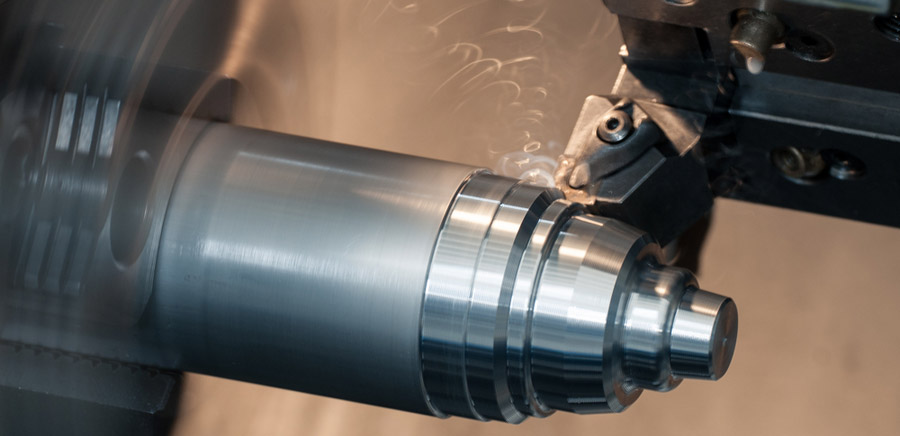
The workpiece rotates, and the turning tool performs cutting processing of linear or curved movement in the plane. Turning is generally performed on a lathe to process the inner and outer cylindrical surfaces, end surfaces, conical surfaces, forming surfaces and threads of the workpiece.
The turning precision is generally IT8-IT7, and the surface roughness is 1.6-0.8μm.
1) Rough turning strives to use large cutting depth and large feed to improve turning efficiency without reducing the cutting speed, but the machining accuracy can only reach IT11, and the surface roughness is Rα20-10μm.
2) The semi-finish turning and finishing turning should use high-speed and small feed and cutting depth as far as possible, the machining accuracy can reach IT10-IT7, and the surface roughness is Rα10-0.16μm.
3) High-speed precision turning of non-ferrous metal parts with finely-refined diamond turning tools on high-precision lathes can make the machining accuracy reach IT7-IT5, and the surface roughness is Rα0.04-0.01μm. This kind of turning is called “mirror turning “.

2. Milling
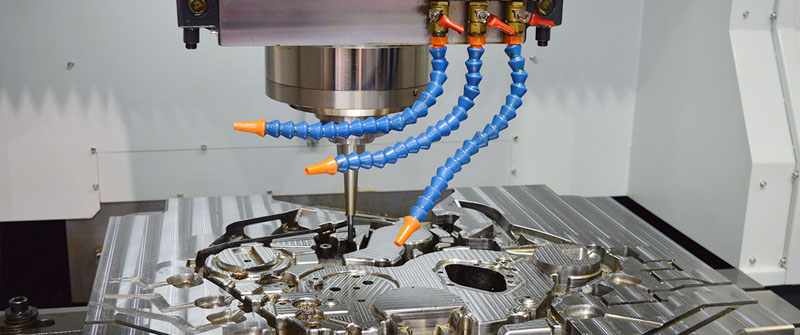
Milling refers to the use of rotating multi-edge tools to cut workpieces, and is a highly efficient processing method. It is suitable for processing planes, grooves, various forming surfaces (such as splines, gears and threads) and special shapes of molds. According to the same or opposite direction of the main movement speed and workpiece feed direction during milling, it is divided into down milling and up milling.
The machining accuracy of milling is generally up to IT8-IT7, and the surface roughness is 6.3-1.6μm.
1) The machining accuracy during rough milling is IT11-IT13, and the surface roughness is 5-20μm.
2) The machining accuracy of semi-finishing milling is IT8-IT11, and the surface roughness is 2.5-10μm.
3) The machining accuracy of finishing milling is IT16—IT8, and the surface roughness is 0.63—5μm.
3. Planing
Planing processing is a cutting processing method in which a planer is used to make a horizontal relative linear reciprocating motion on a workpiece, and is mainly used for the shape processing of parts.
The machining accuracy of planing can generally reach IT9-IT7, and the surface roughness is Ra6.3-1.6μm.
1) The rough planing precision can reach IT12-IT11, and the surface roughness is 25-12.5μm.
2) The precision of semi-finishing planing can reach IT10-IT9, and the surface roughness is 6.2-3.2μm.
3) The precision planing can reach IT8-IT7, and the surface roughness is 3.2-1.6μm. 4. Grinding
Grinding refers to a processing method that uses abrasives and abrasive tools to remove excess material on a workpiece. It belongs to finishing and is widely used in the machinery manufacturing industry.
Grinding is usually used for semi-finishing and finishing, and the precision can reach IT8-IT5 or even higher. The surface roughness is generally 1.25-0.16μm.
1) The surface roughness of precision grinding is 0.16-0.04μm.
2) The surface roughness of ultra-precision grinding is 0.04-0.01μm.
3) The surface roughness of mirror grinding can reach below 0.01μm.
5. Drilling
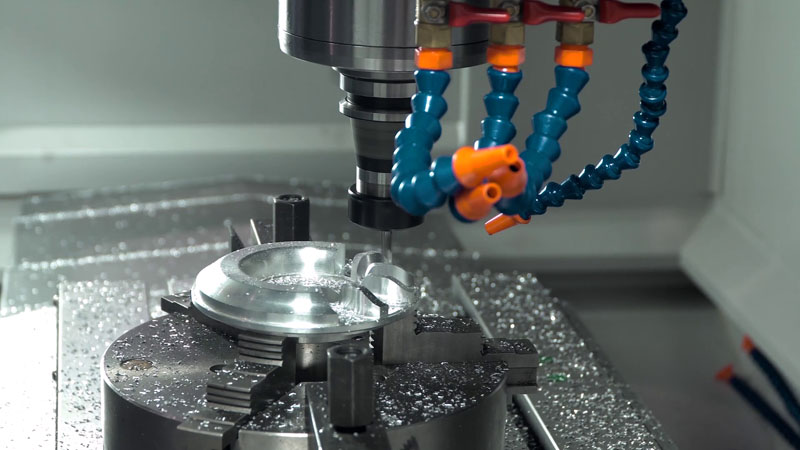
Drilling is a basic method of hole processing. Drilling is often carried out on drilling machines and lathes, but also on boring machines or milling machines.
The machining accuracy of drilling is relatively low, generally only reaching IT10, and the surface roughness is generally 12.5-6.3μm. After drilling, reaming and reaming are often used for semi-finishing and finishing.

6. Boring
Boring is an inner diameter cutting process that uses tools to expand holes or other circular contours. Its application range generally ranges from semi-rough machining to finishing. The tools used are usually single-edged boring tools (called boring bars).
1) The boring accuracy of steel materials can generally reach IT9-IT7, and the surface roughness is 2.5-0.16μm.
2) The machining accuracy of precision boring can reach IT7-IT6, and the surface roughness is 0.63-0.08μm.


