

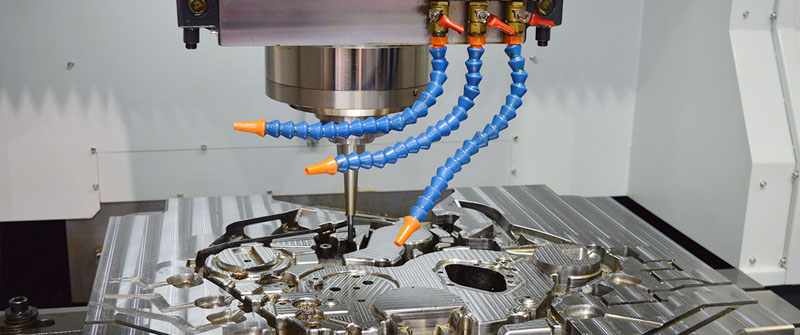
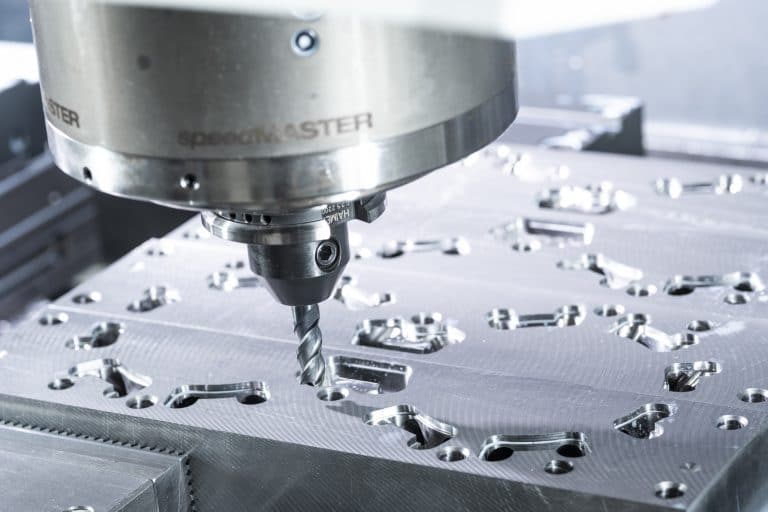
When you need to manufacture high-precision parts, CNC milling is one of the most commonly used parts processing methods. Modern CNC milling cutters provide huge opportunities for quickly creating free-form complex surfaces. They have also developed into high-precision machines, so if you use them correctly, you can get a mirror-like surface finish.
It is normal to see some workpiece defects in CNC milling. This reduces the quality of the final product. Here are some examples of common defects in CNC workpiece milling, and appropriate solutions to repair these defects.
Burns On The Surface Of The Workpiece
Defect
A common defect caused by CNC milling errors is burns on the surface of the workpiece. Burns can occur when the workpiece is overheated. The defect on the workpiece may be at the corner or edge of the material. It manifests as cutter marks on the surface, rough edges or raised marks. In addition, the tool wears out faster than normal.
Cause
Inputting wrong cutting parameters can cause defects. Especially choose an inappropriate combination of feed and speed ratio on the milling cutter. It usually causes damage to the workpiece and damage to the cutting tool. Another reason is that the wrong tool was selected for the job. The size, quality and size of the tool should be suitable for the workpiece.
Solution
We can easily repair this defect by reducing the cutting speed and feed ratio. This will slow down the entire machining process, thereby reducing the heat generated on the surface of the workpiece. Or we can increase the cooling rate of the workpiece during milling. Both of these help reduce the chance of causing burn marks on the workpiece. In some extreme cases, such as titanium, which has poor thermal conductivity, both methods are necessary.
Dents Left From The Tooling After CNC Milling
Defect
When machining brass, copper, bronze or aluminum alloy, sometimes you may notice that the parts have dents during CNC milling. This is due to their lower hardness compared to other tough metals.
Cause
This is caused by excessive clamping force in the tool. If your tool is manual, it means you have to pick up the wrench and tighten the screws on the clamp and fixture, the solution is easy. However, for manual clamps that cannot properly measure the clamping force. Other milling machines use pneumatic or hydraulic cylinders to generate this clamping force, and they are usually greater than manual clamping forces.
Solution
An inexpensive solution to prevent dents in parts clamped by pneumatic and hydraulic tools is very simple. You should make an intermediate steel plate and place it between the workpiece and the fixture. The plate is used to evenly distribute the pressure on the workpiece and increase the contact area. This prevents deformation. Even if the clamping force is still too large, the dents will be on the plate instead of the workpiece.
Another solution is to purchase special chucks and fixtures that are softer, which will not damage the workpiece even if deformed.
Varying Surface Finish On a Single Surface
Defect
One of the common problems when using CNC milling is surface finish. There are many reasons for the poor surface quality or change of the workpiece.
Cause
The first reason is chatter. The term refers to excessive vibration in the machine tool or tool. As a result, you will get an uneven surface instead of a smooth surface. There are a few reasons for chatter, the first is blunt. Before removing the chips from the main part, a dull knife can deform the workpiece much. This will cause the cutting force to increase, and with the accumulation of deformation, the cutting edge will penetrate deeper into the part, and then the chip will suddenly break, leaving a small hole. A number of those on the surface makes the surface finish much lower.
Another reason is the CNC milling strategy. There are two milling strategies: climb and conventional. The first strategy is that the tool rotation direction is consistent with the table feed direction. When using climb milling, the tool will be impacted into the workpiece, and then slowly exit the workpiece with the least amount of material (surface created after machining). This can produce a good surface finish. When the direction of rotation and the direction of feed are opposite, conventional milling occurs. In this way, the tool enters the workpiece from the finished surface. Due to slight vibration and process changes, the tool may slightly damage the finishing surface. However, this is enough to change the final surface finish. New mechanics often use these two strategies accidentally by moving back and forth with planning tools. This results in a surface with two types of surface finish. It is smoother on one path and rougher on the next path.
The last reason for poor surface finish is improper selection or lack of coolant. Many people underestimate the role of coolants and lubricants, and ignore them or use the simplest and cheapest lubricants. In fact, the use of suitable coolant lubricants can improve the quality of the entire surface.
Solution
To make the surface finish as high as possible, you should maintain the cutting tool, keep the tool sharp, use the correct strategy, and pay attention to the coolant. Generally, it is better for the tool to always enter the workpiece from one side and exit from the other side.
Burrs
Defect
In the CNC milling process, the milling machine leaves the remaining material on the workpiece. This residual material is called burr. They are usually formed along the bottom edge of the workpiece during milling or drilling. In addition, it is also common in softer materials with low hardness and strong plasticity.
Cause
The last layer of material is often deformed and removed from the cutting tool, and it cannot be removed when the part is in the same position. The deformed material remains as a film at the edges. It is sharp and reduces the aesthetic value of the finished part.
Solution
We remove burrs from workpieces through deburring. There are several ways to eliminate glitches. An easy way to eliminate burrs is to do it manually. We use tools such as grinding heads, files or sandpaper to polish and remove burrs on the workpiece. This simple option does not require much technical knowledge, but it can accomplish the task. Alternatively, there is an advanced deburring technology, which does perform a better job than a manual process. They include thermal and vibration deburring.
Tool Change Marks During CNC Milling
Defect
In ordinary machining and high-speed machining, the tool needs to be replaced. If you do not pay attention to the relevant adjustment of the parameters during the tool change operation, obvious traces will appear, which will seriously affect the appearance of the workpiece.
Solution
When the bottom or side surface is finished milling, it is a common phenomenon that the tool mark appears. Many times people think that this is an unavoidable error. In fact, it is completely avoidable. To solve this problem, in the machining of the workpiece, the finishing of the concave corners needs to be replaced with small tools. Because of the force and swing during the machining, it is easy to produce marks on the corners. .
Conclusion
As you can see, CNC milling is a complex process. You need the right partners to achieve great results. SANS machining is your best choice for your small volume quantity projects. Send Your Drawings For Free Quotation.