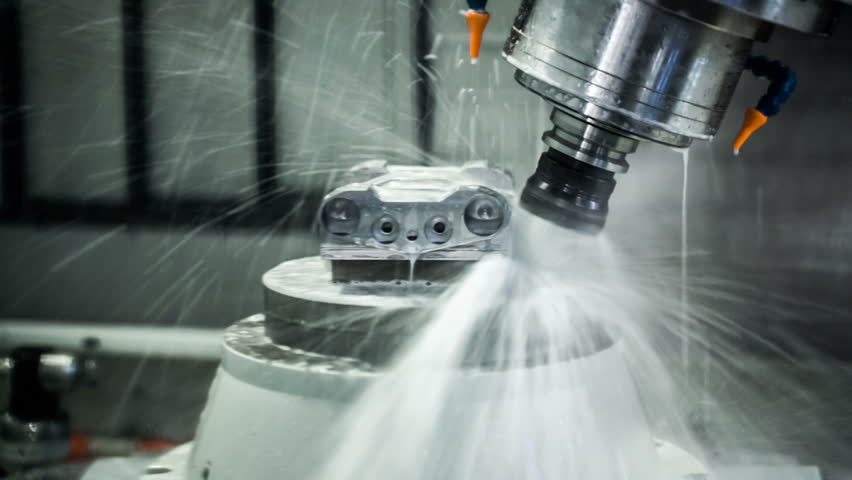
In the manufacturing process of precision parts, the positioning benchmark is a critical element to ensure dimensional and shape accuracy. The positioning benchmarks can be classified into rough and fine benchmarks, each with its own characteristics and applications. The correct selection of positioning benchmarks has a very important impact on ensuring the machining requirements of parts and scientifically arranging the machining sequence.
This article will delve into the definitions, features, and applications of these two positioning benchmarks in part manufacturing.
Rough Benchmark:
The rough benchmark refers to using the unprocessed surface or base surface of the blank as the reference for positioning the part. The blank is the original workpiece that has not undergone any precision machining and usually has a certain machining allowance and surface roughness. The rough benchmark is commonly used in the rough machining stage to roughly position the part and provide an initial reference for subsequent precision machining.
The advantage of using the rough benchmark is that it simplifies the manufacturing process, reducing the need for complex measurements and calibration steps. As the rough benchmark relies on the original state of the blank, it does not require extensive precision machining and measurement, thereby reducing manufacturing costs and time.
However, the limitation of the rough benchmark is that it cannot provide sufficient accuracy and stability, especially in the manufacturing of high-precision parts. Surface roughness and shape errors on the blank will transfer to the final machined surface, limiting the part’s precision.

Fine Benchmark:
The fine benchmark refers to using the production machined surface as the reference for positioning the part. When performing precision machining, using the fine benchmark ensures the final dimensional and shape accuracy of the part. The production machined surface is processed and calibrated to have high flatness and surface quality.
The main advantage of the fine benchmark is that it provides high precision and stability in positioning. By using the production machined surface as the benchmark, the influence of the blank’s instability and surface defects on the final part’s accuracy is eliminated. This makes the manufacturing process more controllable and ensures that the part meets strict dimensional and shape requirements.
However, using the fine benchmark requires more precision machining and measurement steps, increasing the complexity and cost of manufacturing. Therefore, when choosing the positioning benchmark, a trade-off needs to be made based on the specific requirements and manufacturing complexity of the part.
Conclusion:
Precision machining of parts involves rough and fine positioning benchmarks, each applicable to different manufacturing stages and precision requirements. The rough benchmark uses the unprocessed surface of the blank as the reference and simplifies the manufacturing process but limits part precision. The fine benchmark uses the production machined surface as the reference, providing high precision and stability in positioning but increasing manufacturing complexity and cost. In practical manufacturing, choosing the appropriate positioning benchmark ensures efficient and precise part manufacturing, meeting the strict requirements of various industries for part precision.


