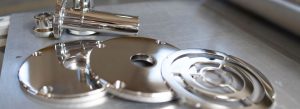
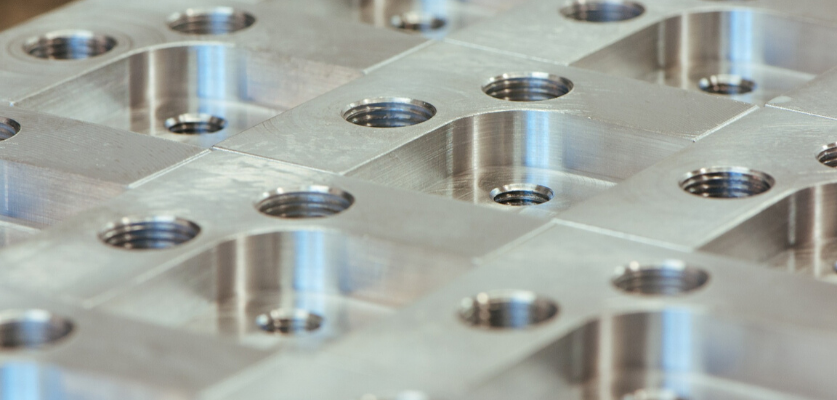
In order to obtain perfect CNC machining parts, we need to keep a few things in mind. Some of these main indicators appeared before we started to manufacture them, such as the correct size and tolerances, shape, quality of raw materials used, etc. But after the processed parts are produced, some work needs to be done.
Surface finishing: A process that helps to define and refine the overall texture (laying, roughness and waviness) of the machined part. We just can’t ignore the importance of impeccable surface finish, which is especially important in aerospace and medical applications. Scrap parts in the finishing stage is not the result that the workshop expects. But what variables need to be considered before entering the completion stage?
How to ensure that the steps we are taking will achieve a better surface finish? We have compiled the Do’s and Don’ts list of major surface finishes to help you improve CNC machining parts.
Do’s
1. Understand measuring surface finish
There are several techniques and characteristics for surface finish measurement, including profile analysis, area and microscopic inspection, focusing on the roughness peak (Ra) and its separation (D). We need to understand which technology is most suitable and can achieve the desired results without spending a lot of energy and time.
2. Increase speed and reduce feed
When processing expensive parts, make sure to always follow the predefined correct feed and speed. The correct way to handle finishing is to increase surface feet per minute (SFM) and decrease inches per revolution (IPR). Increasing the surface feet (SFM) per minute will reduce the accumulation edge (BUE). This will extend tool life and reduce the chance of catastrophic tool failures damaging finished parts. Reducing inches per revolution (IPR) will reduce side wear and extend blade life.
When roughing, it is best to use a tool capable of high feed to quickly remove material. When finishing, it is best to cut shallow depth and keep the feed speed conservative.
3. Use chip breakers
Controlling chips is the key to a good surface finish. The generated chips hinder the entire machining process to a large extent. Before contact with the workpiece, it should be controlled first.
We recommend that you use a high-quality chipbreaker, which can reduce the cutting pressure and make it easier to empty the chips. In materials that produce long and thin chips, by breaking the chips into drill bits that are easy to fall in the cutting area, it helps the longer string of chips to leave the cutting area quickly and easily.

4. Increase the nose radius
There is a direct relationship between the blade tip radius and the resulting surface finish. It is true that a smaller nose radius will reduce the pressure on the tool, but it also limits the feed rate that can be used.
The blade can only be fed at half of the nose radius. Once this range is exceeded, the resulting surface resembles a thread. Therefore, please use the largest possible radius to produce the best finish without chattering.
A larger nose radius can also perform heavier cuts, which is necessary when you are cutting difficult-to-cut materials. However, if the tool nose radius is large, more material must be left on the workpiece for removal in the finishing pass.
5. Use balanced tools to reduce vibration
It is important to use balanced tool technology to reduce the apparent vibration during finishing. If your RPM is higher, this step becomes more important.
6. Use a sharp blade, leading angle and positive angle
There is no doubt that we need sharper blades, larger lead angles and positive rake angles to get a better surface finish.
7. Check the tool holder and work holder
One factor that is often overlooked when trying to improve surface treatment is the tool holder. If the knife holder is old and the groove for holding the blade is worn, the blade may move. Any movement of the blade will cause chattering and result in poor surface finish.
Chatter caused by incorrect tool fixation and fixtures or non-rigid machine tools will produce poor surface finish.
A rigid and stable working environment is also the key. And, the higher the metal removal rate, the more important a stable workpiece clamping.

Don’ts
8. Do not use the same tool for roughing and finishing
Learn to reserve roughing tools for roughing and finishing tools for finishing.
The parts can be roughed with blades with large nose radius, large rake angle and rapid feed rate. Then, a finishing tool with the required lead angle and radius can use wiper flatness, which flattens the part, resulting in a better surface finish.
The shallow depth of finishing is good, but it must be equal to or greater than the radius. Otherwise, the blade will push the material instead of cutting, resulting in poor surface quality, burr edges and shortened blade life.
9. Avoid pauses
Unnecessary pauses and pauses also hinder the correct finishing work. Remember, every time your tool stops moving when it comes into contact with the lathe or workpiece, it will leave a trace.
If this happens frequently, I suggest you change this process completely! Do your best to ensure that your tool does not stop or hesitate throughout the cutting process.
10. Avoid lowering the centerline
The best way to ensure the correct cutting process is to follow a 70:30 ratio instead of a 50:50 method. Cutting the middle may tap the insert along the edge of the material, which may cause burns. This may result in improper surface finish.


