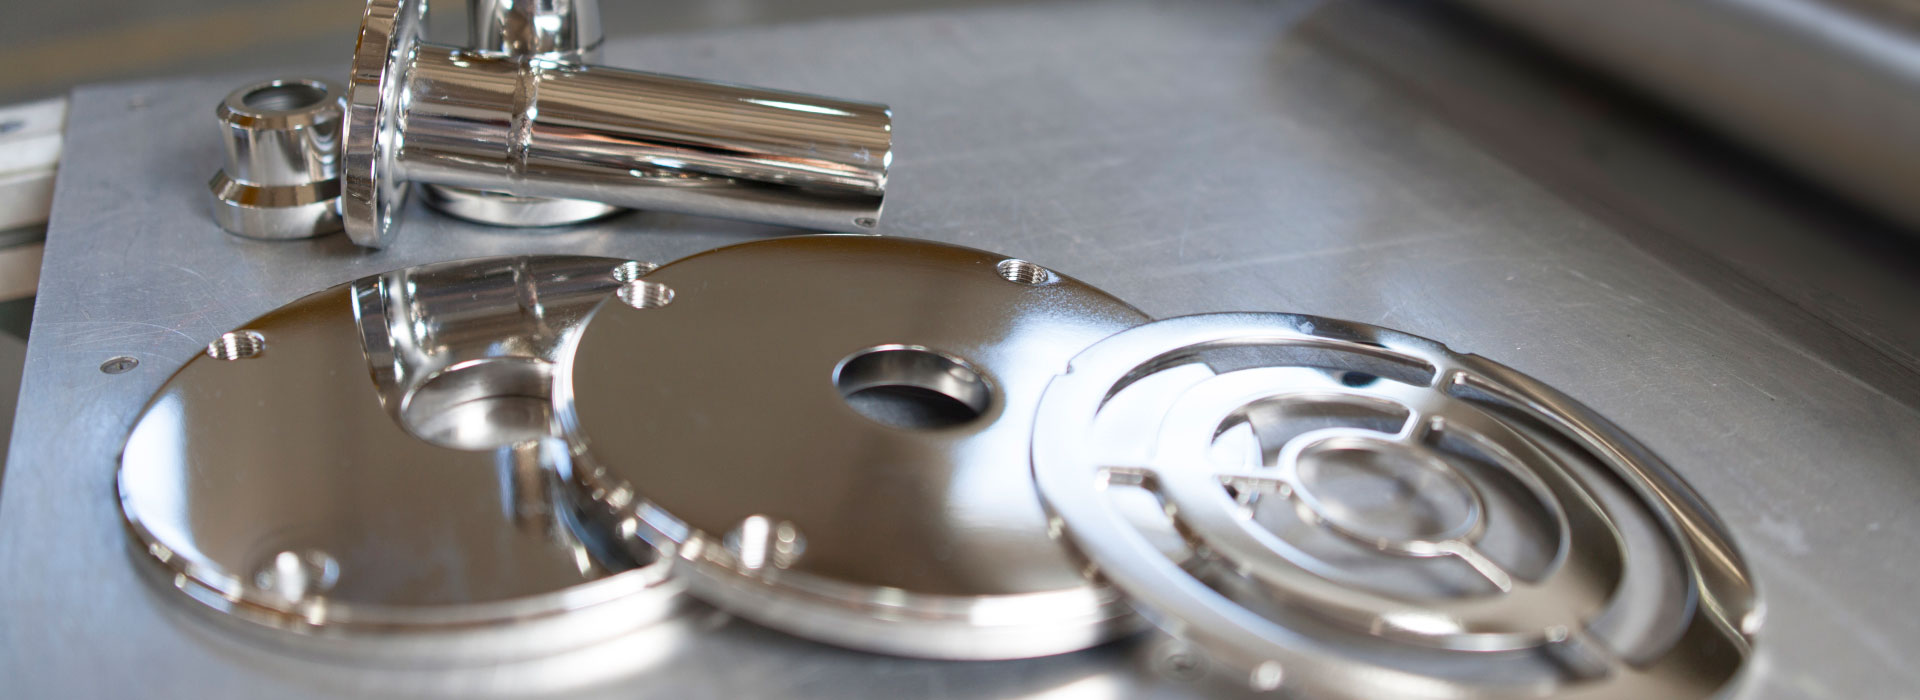
In CNC machining, achieving dimensional accuracy is just one part of producing high-quality components. Equally important—but sometimes underestimated—is surface roughness. This factor plays a critical role in determining not only the aesthetics of a part but also its functional performance, wear resistance, and compatibility with other mating components.
This article introduces what surface roughness is, how it is measured, why it matters in CNC machining, and what techniques engineers and machinists can use to control it effectively.
What Is Surface Roughness?
Surface roughness refers to the small, finely spaced deviations from the nominal surface geometry that occur as a result of machining processes. These microscopic peaks and valleys are often imperceptible to the eye but are critical for technical applications.
It is typically expressed in micrometers (µm) or microinches (µin), and common units include:
Ra (Roughness Average) – the arithmetic average of absolute values of surface height deviations.
Rz (Mean Roughness Depth) – the average distance between the highest peak and the lowest valley in a sample area.
Rt (Total Height of the Roughness Profile) – the vertical distance between the highest peak and the lowest valley in a single assessment length.
Why Surface Roughness Matters
- Functionality and Fit
The smoother the surface, the more precisely two parts can fit together. In applications such as fluid sealing, bearing assemblies, or tight-tolerance mechanical components, excessive surface roughness can lead to leakage, misalignment, or mechanical interference.
- Wear and Friction
A rough surface tends to create more friction and can cause rapid wear on both the machined part and its mating surface. In contrast, smoother surfaces reduce contact resistance and extend component lifespan.
- Coating and Finishing
Surfaces that are too rough may not hold coatings uniformly or might require additional finishing steps such as polishing, lapping, or anodizing. In critical parts, poor surface texture may also trap contaminants.
- Stress Concentration
Microscopic valleys and notches on a rough surface can act as stress concentrators, reducing fatigue resistance. For components subjected to cyclic loads, surface roughness must be tightly controlled.
Factors affecting surface roughness in CNC machining
The final surface roughness is determined by the following factors:
Material properties: Compared to harder metals such as titanium, softer materials such as aluminum may require different processing strategies.
Tools: The material, geometric shape, and wear condition of the tools can seriously affect the roughness
Machine tool stiffness and vibration: Vibration can produce poor surface roughness; High stiffness machine tools help minimize vibration to the greatest extent possible.
Cutting parameters
- A lower feed rate can usually improve surface roughness.
- Higher spindle speed can reduce tool marks
- Shallow cutting depth can minimize surface deformation to the greatest extent possible.
Cooling and lubrication: Proper application of coolant can prevent chip buildup and ensure cleaner cutting.

How to Improve Surface Finish in CNC Machining
- Use Sharp, High-Quality Tools
Always monitor tool wear and replace cutting tools before they compromise finish quality.
- Optimize Machining Parameters
Reduce feed rate and increase spindle speed during finishing passes to minimize tool marks.
- Select Suitable Tool Paths
Minimize abrupt direction changes and use continuous, overlapping tool paths when possible.
- Apply Post-Machining Processes
If the required surface finish cannot be achieved by CNC alone, consider:
- Polishing
- Grinding
- Superfinishing
- Coating or anodizing
- Monitor Machine Condition
Excessive vibration or misalignment in the spindle or slides can affect finish. Regular machine calibration helps maintain consistency.
Conclusion
Surface roughness in CNC machined parts is more than just a cosmetic feature—it affects functionality, reliability, and performance. Whether you’re producing parts for aerospace turbines, surgical instruments, or custom prototypes, understanding and controlling surface finish is essential.
By leveraging proper machining strategies, tools, and inspections, manufacturers can meet demanding surface requirements while optimizing efficiency and reducing rework.
For critical applications, it’s always advisable to discuss surface finish requirements during the design phase to balance cost, manufacturability, and function.


